
Image from Amazon
The AR15 is an amazing hunting weapon and an intimidating-looking rifle. That intimidation factor can carry over into disassembly and cleaning, but don’t put off this crucial part of owning an AR15. It’s an honor to own one of the finest guns ever designed, and keeping it in great shape so you can pass it on to your children requires knowing how to clean an AR15.
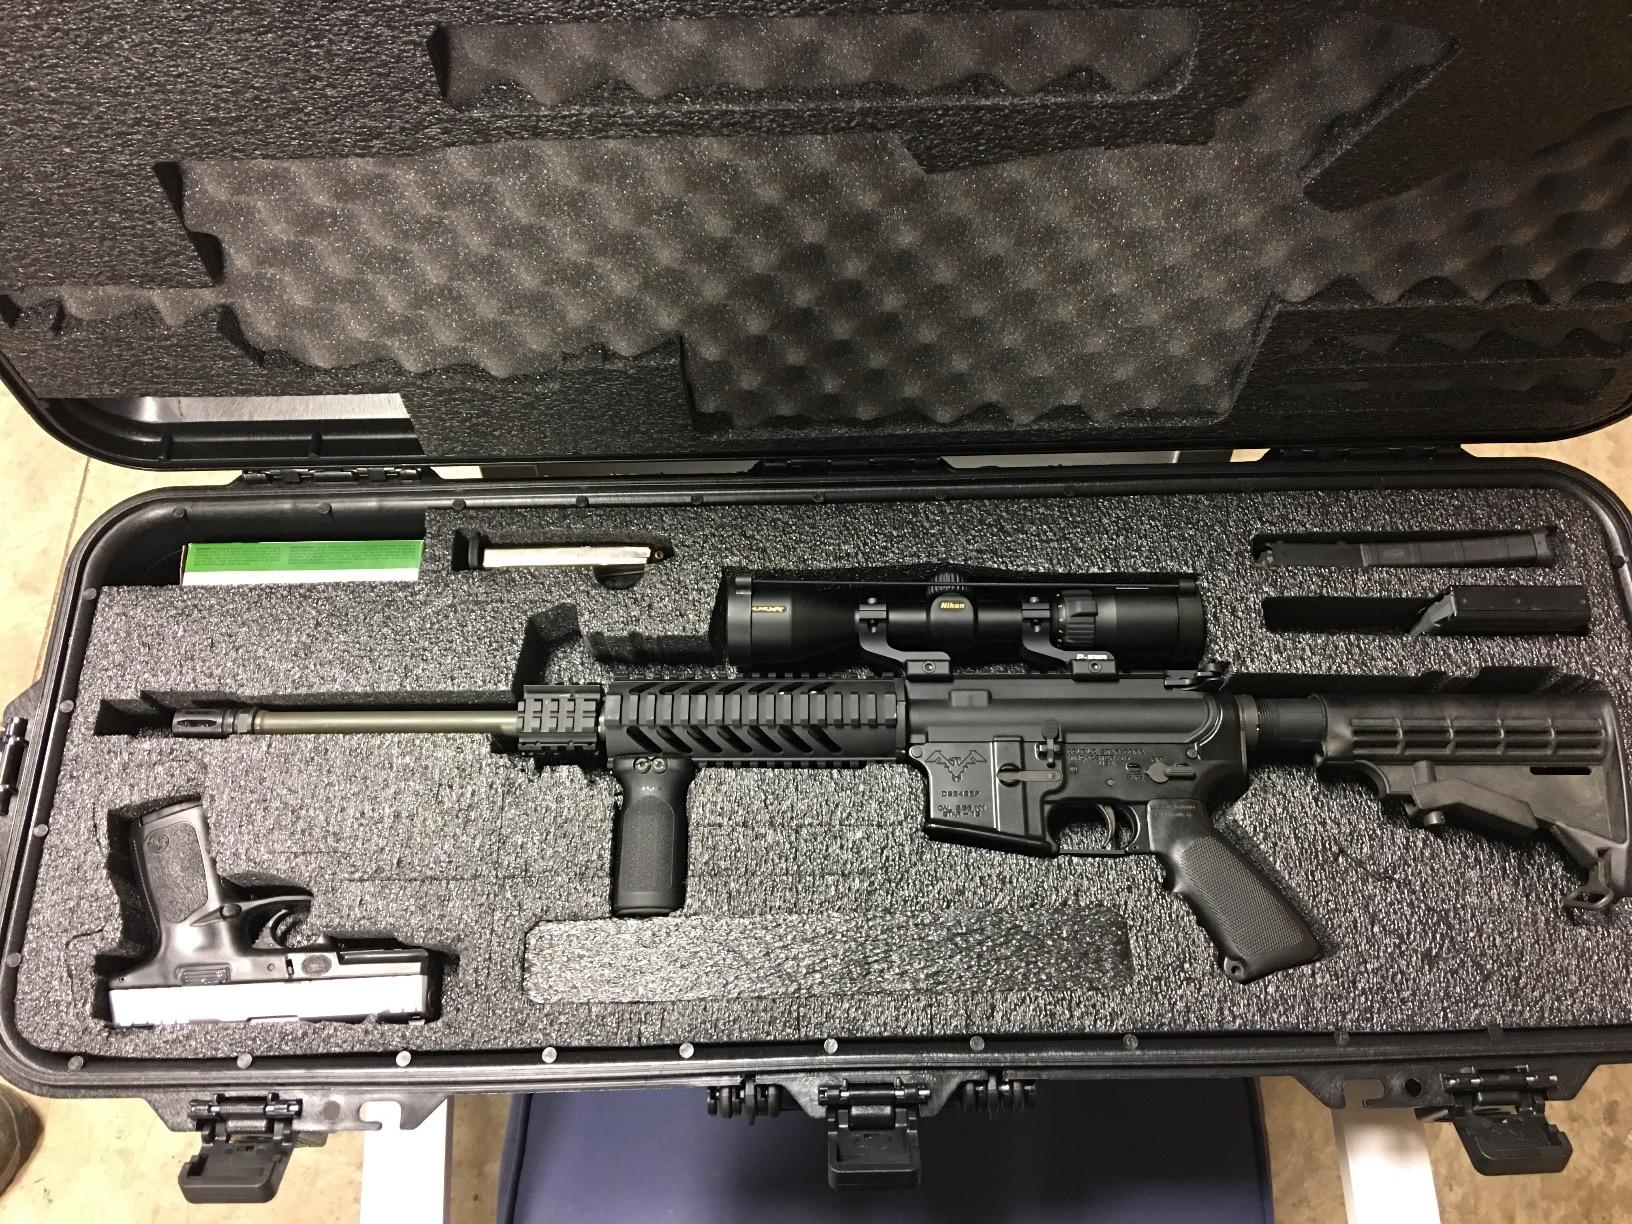
Why Choose an AR15?

Image from Amazon
The AR15 has gotten a lot of bad press lately, but much of that bad press is based on erroneous and even misleading information. Let’s get a bit of that out of the way and erase any latent guilt you might be feeling about owning (or considering) this fine rifle.
Is It an Assault Rifle?
The AR15 is absolutely not an assault rifle, nor is it an “automatic” rifle, nor does the “AR” in the name stand for automatic rifle, assault rifle, automatic rearming, or anything else its detractors like to imagine. The original maker of this weapon was ArmaLite Rifle, and that’s all the AR stands for.
This is a semi-automatic rifle, which simply means you don’t have to stop and re-load–losing your target in your hunting scope as you do–after every shot. The military version of the weapon the AR15 is based on, the M4, is an automatic assault rifle, which means that as long as you hold down the trigger it will keep firing. With the AR15, you have to pull the trigger for each shot.
Is It all About Looks?
The AR15’s detractors assume people buy this weapon solely because it looks “scary” or “military.” Nothing could be further from the truth. The primary reason this is a beloved hunting gun is that it offers value, accuracy, and versatility.
Traditional hunting rifles are one caliber and suitable only for hunting certain animals. If you want to hunt something else, you have to buy a whole other gun. The AR15 is modular, meaning you can quickly change out the upper for another caliber and use it to hunt deer one day and coyote the next. The third day you can put a low caliber upper into it and take it out to the range for inexpensive target practice. Instead of having to buy four or five guns for various shooting activities, the AR15 owner only needs one.
Do I Really Have to Know How to Clean an AR15?
If you’re just getting into the world of rifles, or if you’re considering an AR15, please know that cleaning your rifle is absolutely crucial. It’s also not something to be afraid of. If you get this rifle and don’t clean it, though, here’s what could happen:
It Won’t Work When You Need It
If you let your AR15 get too dirty, you’ll start to see this in performance. You’ll experience failures to eject, bolt failures, and maybe even failures to extract. It will also lose accuracy.
You May Rust Out the Bore
All ammunition leaves behind some fouling. This fouling eventually results in rust, and rust formation can be exacerbated if you store your rifle in a humid environment or regularly let it get wet.
If you let that rusting go on long enough, it will start to pit the inside of your bore. This doesn’t happen nearly so easily in modern weapons as in older ones, but it will eventually happen. The pitting will affect your aim and could compromise the integrity of the barrel if you let it go on long enough.
Your Gun Will Fail
Eventually, an uncleaned gun will fail; perhaps catastrophically. At best, it will become useless long before it should for such an expensive investment.
How Often to Clean
This is a personal question no one can answer for you. Some people field strip and thoroughly clean their rifle after every shooting session. Others simply wipe it down and clean it thoroughly only after the season is over. Some clean their rifles only if they’ve been out in particularly bad weather. Some never clean them at all.
We recommend the following as a minimum cleaning routine for a hunting rifle:
- Once before the season begins
- Once in the middle of the season, if using regularly
- Once at the end before storage
- Any time the gun has gotten wet
If you use your AR15 all year round, then we recommend cleaning it once a quarter and any time it gets wet.
How to Clean an AR15
1. Get the Right Tools

Image from Amazon
You can buy pre-made gun cleaning kits that have everything you need, and those are completely fine. As you become familiar with your gun and the cleaning process, you’ll almost certainly come to have your own preferences and can start laying in supplies of your favorite products.
For this tutorial on how to clean an AR15, we’ve used ProSmith and Tetra products. These are our personal favorites; but there are plenty of other worthy options. Here’s what we used:
- Tetra action blaster
- Nylon gun brush
- ProSmith tapered-tip swabs
- Cleaning patches
- Tetra copper solvent
- ProSmith brass jag
- Gun spray lubricant
- Steel or bronze gun brush
- Gun grease
- Compressed air
- Clean rags
- Pipe cleaners
2. Unload and Clear
Never clean your gun without unloading and clearing it. If you know anything about guns, you know this already. If you know anything about guns, you also know you can never repeat the safety mantras too often.
3. Break Down the Gun

Image from Amazon
Breaking down an AR15 is one of the more intimidating aspects of ownership, but the fastest way to get comfortable at breaking it down is to practice, practice, practice. If you have an owner’s manual, consult it to help you with the process. If you need a new manual, you can get one online.
Briefly, here’s what you should do to get your gun ready to clean:
- Separate the upper receiver group from the lower
- Remove the bolt carrier group
- Remove the firing pin, bolt, and bolt cam pin to disassemble the bolt carrier group
- Remove extractor pin
- Remove extractor
- Remove handguards
- Remove the buffer assembly and spring from the lower receiver
4. Clean the Chamber and Receiver
Begin With the Chamber
This is likely the part of your gun in most need of cleaning, so the best thing to do here is spray some action blaster into the chamber and lug recesses and leave it there to dissolve carbon deposits and other types of fouling residue while you do other things.
Clean the Receiver
Spray action blaster (or a similar product) on the receiver and use your nylon brush to run tapered swabs through it until they come out clean.
Return to the Chamber
By now the chamber and lug recesses are ready for you, so use more swabs and your brush to clean these, again running swabs through them until they come out clean. Be sure not to forget the space between the lugs. Use a clean rag to do a final wipe of the chamber and receiver and then use compressed air to dry it out.
Lubricate
Using a gun spray lubricant, lightly cover the inside and outside of the upper receiver with lubricant.
5. Cleaning the Bore
Wipe the Bore
Always moving from the chamber to the muzzle and never vice versa (this ensures you don’t drive any gunk up the bore and into your upper receiver), push three patches soaked in copper solvent down the barrel. The barrel should be saturated with solvent; leave this for 10 minutes to soak.
Brush the Bore
Apply more solvent to your nylon brush and run it down the bore seven times. There will still be a bit of fouling left inside after this, so run two more solvent-soaked patches down it to get rid of everything.
Neutralize the Solvent
The solvent does wonders at getting rid of the gunk in your bore, but it also ruins the bore itself if it stays in there too long. Spray action blaster down the bore to neutralize the solvent. While you’re at it, spray down your brush, too, to prolong its life.
Final Cleaning
Run a brass jag covered with dry cleaning patches down the bore until they come through clean. Once a patch comes through completely clean, spray it in action blaster and run it through one more time.
Lubrication
Put gun lubricant on a patch and run it through the bore.
6. Cleaning the Extras
This part is fairly easy. To clean your bolt cam pin, bolt carrier, firing pin, and retaining pin, simply spray them with action blaster and wipe them clean. Give them a little spray with lubricant to keep them working well.
The Possible Exception: Your Bolt
Your bolt may need some special attention. If it does, spray it down carefully with action blaster and let it sit for 10 minutes while it works. Then use a steel or bronze brush to scrub the outside. You may need to repeat this process a few times.
To get the inside, use your taper swabs and some pipe cleaners until the swabs come out clean. Once they do, apply a little lubricant and polish it into the surface of the bolt to protect it.
7. The Lower Receiver
Use compressed air to spray out the inside of your lower receiver and get rid of any loose debris. Use the lubricating gun spray and tapered swabs to carefully wipe the action and the outside of the lower receiver, the buffer assembly, and the recoil springs.
8. Magazines and Handguards
Many people learning how to clean an AR15 neglect these two parts of their weapon. That’s understandable, and the handguardsreally only need a wipe-down most of the time; though it’s important to check.
But the magazine is essential. Learning how to clean an AR15 magazine will prevent auto-loading malfunctions; a dirty magazine is the leading cause of these malfunctions.
Disassemble the Magazine
Take your magazine apart. Once you have the spring and follower separated from the main magazine, get your gun spray and a clean rag.
Spray and Wipe
Spray down the insides and outside off the magazine as well as the spring and follower, and then carefully wipe them with a clean cloth. Reassemble the magazine.

Image from Amazon
9. Wipe It All Down
Your final step in learning how to clean an AR15 is understanding that your own handprints contain salts and other agents that can damage your gun over time. Once you’re finished cleaning and lubricating the individual parts of your gun, wash your hands and thoroughly dry them.
When you return, carefully wipe down each part as you reassemble and then wipe down the fully reassembled gun before putting it away.
Conclusion
When you’ve finished cleaning your rifle, always end with a function check to make sure you’ve put it back together properly and everything is working correctly. Pull the bolt and release it. Activate the safety and try to squeeze the trigger. If the safety works, you’re golden on that point. Then disengage the safety and try again. The hammer should fall this time, and if it does, you’ve finished cleaning and reassembling your gun and know everything there is to know about how to clean an AR15.